
Custom embroidered patches: A Worked Example for a UK Brand
In this illustrative worked example, a UK brand can use custom embroidered patches to give jackets, bags, uniforms, and event clothing a consistent identity without ordering thousands of finished garments. The practical route is to simplify the artwork, choose the backing for the garment, approve a free digital mockup within 12 hours, and start from The Customized Patches’ 5-piece minimum.
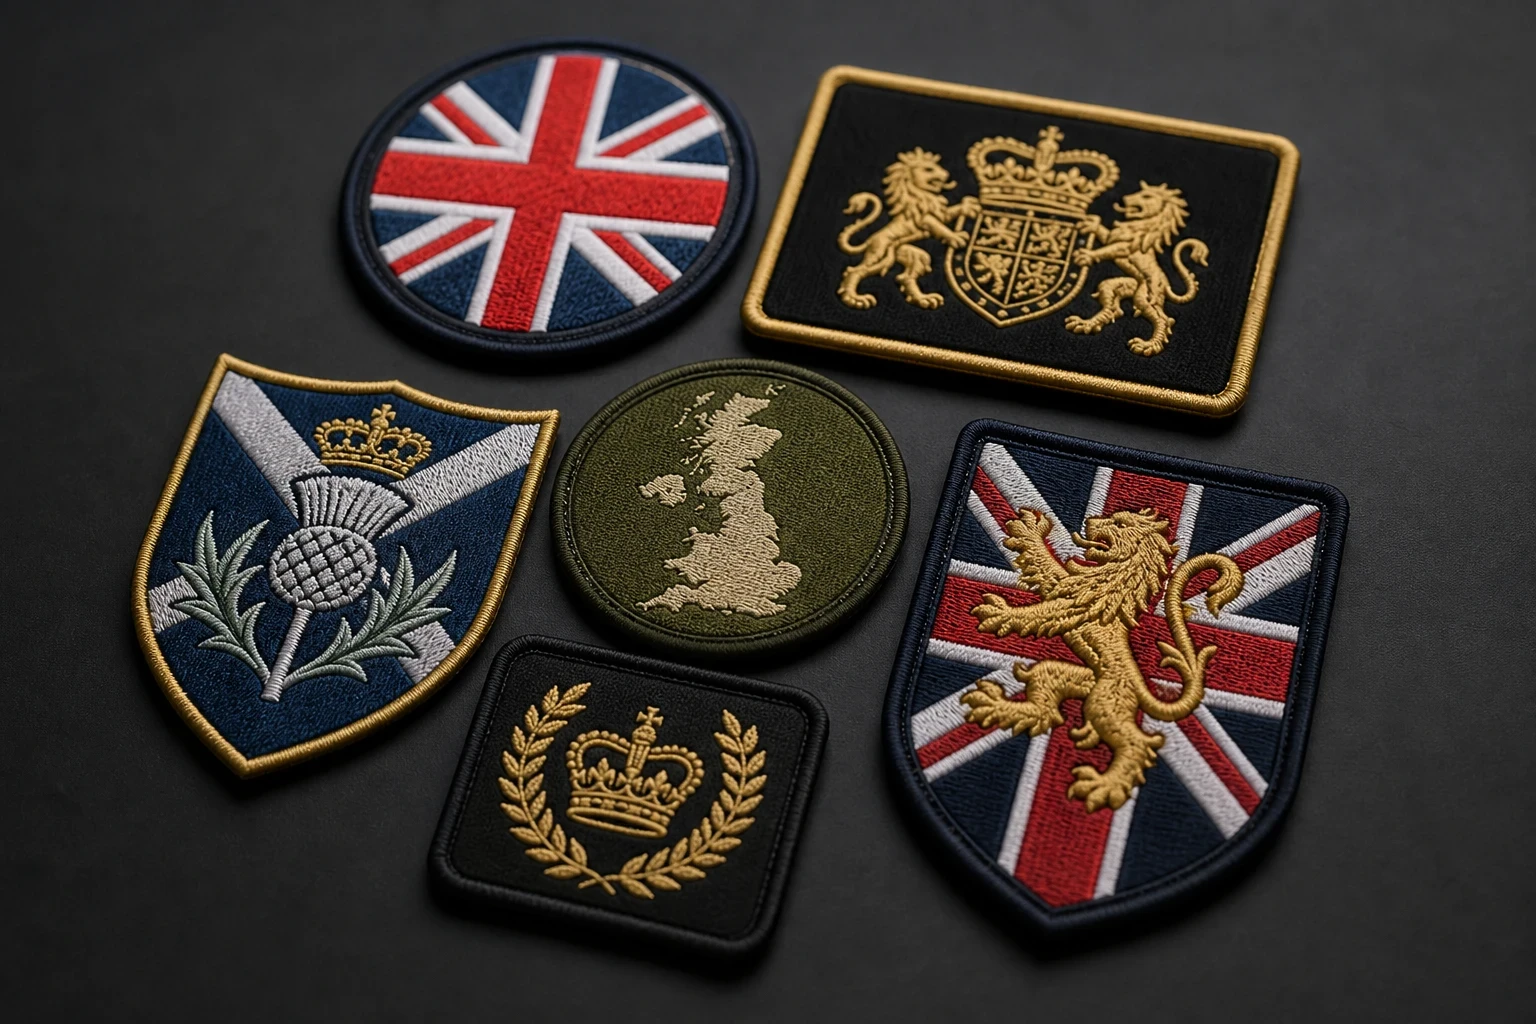
Key takeaways
- The UK brand started with one simple crest that worked on jackets, bags, and staff clothing rather than creating a different patch for every item.
- A free digital mockup usually arrived within 12 hours, allowing the customer to check size, colours, lettering, and backing before production.
- The 5-piece minimum per design made a small test order possible before the brand committed to a larger repeat run.
- Embroidered patches gave the brand a tactile, stitched finish, but printed or woven patches would have been better for some very fine or photographic artwork.
Please note: this is an illustrative worked example, not a report on a real customer. The brand, garments and decisions below are a hypothetical scenario based on common UK patch briefs, written to show the questions worth asking and the choices involved. No customer results, sales figures or reviews are claimed.
This worked example shows how a UK brand used custom embroidered patches to give jackets, canvas bags, and staff clothing one recognisable identity without replacing its existing stock. The brand began with a small run, checked the design on the real garments, and then repeated the order after seeing how the patch performed.
The project was handled by The Customized Patches, a UK patch maker serving brands, teams, clubs, and businesses. The customer received a free digital mockup usually within 12 hours, had a 5-piece minimum per design, and production started only after the artwork and specification were approved.
The starting point: one logo, several types of clothing
The brand was a small UK outdoor and lifestyle label preparing for a run of markets, pop-up events, and wholesale meetings. It already owned a mixture of navy work jackets, olive nylon shells, heavyweight cotton overshirts, and natural canvas tote bags. Buying new branded clothing for every event would have tied up money and left the useful garments sitting in storage.
The brief sounded simple: make the brand mark into a patch that could be sewn onto jackets and bags, with a finish that looked more considered than a flat transfer. The difficulty was that the logo had a circular crest, a thin outer line, small lettering, and two colours that were close together on screen but needed to remain distinct in thread.
This is a common starting point for UK customers. A football club may have kit bags and coaches’ jackets. A hospitality business may have polos and aprons. A cadet unit may have uniform pieces, kit bags, and removable panels. The patch has to suit the actual fabric, not only look good in a PDF.
Why the brand chose custom embroidered patches
The customer wanted visible stitch texture. That mattered because the patches were going onto outerwear and canvas rather than delicate fashion garments. The raised thread helped the crest read as a physical badge, and the stitched border gave the design a clear edge against a dark jacket.
There was a trade-off. Printed is flatter; that is the point. A printed patch would have handled tiny lettering, gradients, and a more detailed illustration with less need to simplify the artwork. A woven patch would also have produced a neat, fine surface. The customer accepted that the embroidered version would need restrained detail because the stitched finish was central to the brand’s intended look.
- The patch needed to look credible on a navy jacket, an olive nylon shell, and a natural canvas bag.
- The main crest needed to remain recognisable at roughly 3 inches wide.
- The outer edge needed to be clean enough for repeated handling at events.
- The design had to be suitable for a small first order rather than a large factory run.
- The brand wanted to reorder the same design later without starting the specification from scratch.
What changed in the artwork
The original logo file was not rejected, but it was not treated as ready-to-stitch artwork either. Small lettering was enlarged slightly, the narrow outer line was given more presence, and the two nearest colours were separated so the thread did not merge visually. This is artwork preparation, not a change to the brand identity.
The production team also checked the shape. A circular merrowed crest can look strong on a jacket, but a very fine circular edge may not hold the same visual weight as the centre of the design. The mockup allowed the customer to see the proportions before any patches were made.
Size, edge, and backing decisions
The brand initially asked for one size for every item. That would have been convenient, but the useful size depended on the available space. A patch that looked balanced on a chest area could appear lost on the front of a tote bag, while a bag-sized patch could overwhelm a jacket.
| Application | Practical size considered | Recommended attachment | Main point to check |
|---|---|---|---|
| Jacket chest | About 3 to 3.5 inches wide | Sew-on or suitable iron-on with stitching | Keep small lettering readable |
| Nylon shell | About 3 inches wide | Sew-on, with care around thin fabric | Avoid unwanted heat damage |
| Canvas tote bag | About 3.5 to 4 inches wide | Sew-on | Check the patch does not stiffen the bag excessively |
| Removable event panel | Size matched to the panel | Hook-and-loop backing | Confirm the loop section is already fitted |
| Heavy wool coach jacket | About 3.5 inches wide | Sew-on | Allow for the thickness of the fabric |
The first production specification used a heat-cut edge for the cleaner circular outline and sew-on backing for the jackets and bags. The customer had considered iron-on because it appeared quicker, but the garments included nylon shells and items likely to pass through commercial dryers. Iron-on that peels after a dryer cycle is a real failure, not a minor cosmetic issue.
Hook-and-loop was discussed for event staff because removable badges can be useful. It was not selected for every garment: adding a hook panel to a soft overshirt changes the feel, and the customer did not want a permanent square of loop visible when the patch was removed. Backing should follow the garment and use, not a default option on a quote.
The specification the customer approved
- Shape: circular crest with a clean cut edge.
- Size: approximately 3 inches wide for the jacket version and slightly larger for bags.
- Finish: embroidered surface with a stitched border.
- Backing: sew-on for the main run, with hook-and-loop discussed for a future event panel.
- Colours: two main thread colours plus a contrasting border.
- Quantity: a small initial run using the 5-piece minimum per design, followed by a larger repeat order.
Not sure whether thread or ink will hold your logo better on the garment? Send the artwork and a photograph of the clothing for a free digital mockup, usually within 12 hours, so you can compare the practical result before production.
GET A FREE MOCKUPThe final mockup was checked against photographs of the navy jacket and canvas bag. That step caught a proportion issue that would not have been obvious from the logo alone: the first version was too narrow for the bag and left too much empty canvas around the crest. The revised version was approved before production.
The first order and what the brand learned
The small first order gave the brand a sensible test. It could put patches on two jackets, one tote bag, and a spare item, leaving a couple available for a new team member or a later sample. The 5-piece minimum per design is useful for this kind of decision because a business does not have to guess at a large quantity before seeing the patch in person.
The brand tested the sewn patches during several event days. The jackets were put on and removed repeatedly, the bags were carried by their handles, and the patches were handled by customers who asked about the logo. The useful result was not a claim that every patch suits every garment; it was confirmation that this particular size, edge, and backing worked for the intended use.
The customer also found one practical limitation. The small text looked acceptable in the mockup but was not the strongest part of the finished patch when viewed from a distance. For the repeat order, the brand kept the lettering but increased its clarity slightly rather than adding more words. A patch often works better when the main symbol does most of the identification.
| Requirement | Decision | Reason | Trade-off |
|---|---|---|---|
| Tactile brand finish | Embroidered face | Stitched texture suited jackets and canvas | Fine gradients and tiny details were reduced |
| Small initial quantity | 5-piece minimum per design | Allowed a real garment test | Unit pricing may differ from a larger run |
| Nylon outerwear | Sew-on backing | Avoided relying on heat | Application takes longer than pressing |
| Circular badge | Clean cut edge with border | Kept the crest outline tidy | Edge treatment affects the final look and cost |
| Future repeat orders | Approved mockup retained as reference | Made the specification easier to repeat | Changes still need checking if the garment or size changes |
This is also where the brand compared alternatives more honestly. 3D embroidered patches would have added raised height but were unnecessary for a small circular crest. Chenille patches would have brought a soft, collegiate texture, but the surface would have been less suitable for the small lettering. A PVC patch could have been a better choice for wet, technical, or tactical equipment, but it would not have delivered the stitched appearance the brand wanted.
How the ordering process worked in the UK
The quote began with the details that affect production: artwork, finished size, quantity, shape, edge, backing, garment type, and delivery address. A customer does not need to know every embroidery term before asking for a quote. A photograph of the garment and a clear description of the intended use are often more useful than a guess at the technical specification.
- Send the logo and explain where the patch will be used.
- Give the desired size in inches, or photograph the available space beside a ruler.
- State the quantity for each design. The Customized Patches has a 5-piece minimum per design.
- Mention nylon shells, wool coats, canvas, polos, school blazers, Velcro panels, or any other unusual material.
- Choose a likely backing, but ask for guidance if the garment may be damaged by heat.
- Review the free digital mockup, usually supplied within 12 hours.
- Request amendments if lettering, colour, size, border, or backing is not right.
- Approve the final version. Production starts only after approval.
- Apply or sew the patches to one test garment before fitting the full order.
For a repeat order, the approved artwork and previous specification are useful starting points, but the garment should still be mentioned. A new jacket fabric, a different patch size, or a move from sew-on to iron-on can change the practical recommendation. A patch made for a cotton overshirt should not automatically be treated as suitable for a thin nylon shell.
Lead time depends on the design, quantity, backing, approval speed, and delivery requirements. The free mockup is usually available within 12 hours, but that is not the same as a promise that the finished patches will arrive in 12 hours. Customers with a launch date should say so at quote stage and leave room for artwork amendments, production, and UK-wide delivery.
What made the project successful
The project worked because the brand treated the patch as a small manufactured product rather than simply uploading a logo. It decided where the patch would live, measured the space, accepted sensible artwork adjustments, and tested the first batch on the real garments.
- The brand used one recognisable mark across several products instead of overcrowding each patch with information.
- The first design was kept within a practical size for jackets and bags.
- The customer discussed fabric before selecting a backing.
- A mockup was checked for the actual garment colours, not only viewed on a white screen.
- A 5-piece first order reduced the risk of committing to an unsuitable size or edge.
- The approved design was retained for a repeat order and adjusted only where the finished sample showed a genuine need.
The process also avoided a common mistake: treating every patch type as interchangeable. A biker vest may need a large sew-on back patch and merrowed crest. A school blazer may need a compact badge that withstands regular washing. A Velcro panel needs the correct hook-and-loop arrangement. The right result comes from matching construction to use.
Where embroidered patches may not be the best choice
A worked example should include the alternatives. Embroidery is a strong fit for logos that benefit from thread texture, clear blocks of colour, and a traditional badge appearance. It is less suitable for photographic images, smooth gradients, very small paragraphs of text, or artwork that depends on subtle colour changes.
Name sew-on, iron-on, or Velcro on the quote and include the garment type. The Customized Patches will show the proposed design and backing on a free digital mockup, usually within 12 hours; production begins only after you approve it.
GET A FREE MOCKUP| Patch type | Good fit | Limitation to consider |
|---|---|---|
| Embroidered | Club crests, brand marks, uniforms, jackets, bags, and traditional badges | Fine detail and gradients may need simplifying |
| Printed | Illustrations, photographs, gradients, and very detailed artwork | Flatter finish and less visible stitch texture |
| Woven | Small lettering, neat lines, and a flatter detailed badge | Less raised texture than embroidery |
| PVC | Outdoor equipment, airsoft kit, tactical bags, and designs needing a rubberised surface | Different appearance from a fabric badge |
| Chenille | College-style letters, sportswear, and soft high-pile texture | Fine detail is limited and the surface is thicker |
| Leather | Heritage branding, hats, caps, and premium-looking small marks | Artwork and colour options differ from thread-based patches |
The brand in this example made the correct choice for its stated aim, but a different brief could lead elsewhere. Customers comparing options can read the guide to custom embroidered patches vs printed patches or look at leather patches for a more understated mark. Printed is not a failed version of embroidered; it is often the better tool for detailed artwork.
Care, application, and repeat orders
Sew-on patches are usually the safest choice for garments that cannot take high heat, including many nylon shells. Use a strong thread, stitch around the border, and check that the needle will not damage a waterproof layer. On a wool coach jacket, the patch should be positioned carefully because moving it later can leave visible needle marks or compressed fibres.
Iron-on backing can be convenient on suitable cotton or blended garments, but it is not universal. Follow the application instructions, use a pressing cloth, avoid placing the iron directly on the embroidery, and check the care label. For garments that are washed often or tumble-dried, additional stitching may be sensible even if the adhesive is used for initial positioning.
The brand kept a record of the approved size, thread colours, edge, backing, and the garments tested. That small amount of documentation made the next order easier. It also prevented a common repeat-order problem: asking for “the same patch” while quietly changing the dimensions or backing.
For washing guidance, see How to Wash and Care for Custom Patches. Customers fitting patches to caps, school clothing, workwear, or bags can also use the relevant application advice rather than assuming one method suits every item.
The practical lesson for UK brands
Custom embroidered patches work best when the design, garment, backing, and quantity are considered together. The strongest outcome is not always the most detailed patch or the lowest quoted unit price. It is the version that remains readable, attached, and appropriate after the garment has been worn and handled.
For a small UK brand, the sensible route is to begin with one useful design, order at least 5 pieces, and use the first batch as a physical check. The Customized Patches provides a free digital mockup usually within 12 hours and produces only after approval, giving the customer a chance to correct the specification before manufacturing starts.
If your project involves a football club, hospitality uniform, school blazer, cadet kit, biker vest, work jacket, or event bag, describe the garment honestly at quote stage. The more specific the brief, the more useful the advice on size, edge, thread, and backing will be.
For more ordering detail, see A Step-by-Step Guide to Ordering custom embroidered patches. If you are choosing a patch for a particular UK location, the UK city pages can help you find the relevant local service information, while the embroidered patches hub covers the available product route.
Frequently asked questions
How did the UK brand use custom embroidered patches successfully?
The brand used one simplified crest on jackets, canvas bags, and staff clothing. It checked the design at the finished size, selected sew-on backing for garments including nylon shells, ordered a 5-piece first run, and tested the patches before placing a repeat order.
What is the minimum order for custom embroidered patches?
The Customized Patches has a 5-piece minimum per design. This allows a UK brand, club, team, or small business to test a design on real garments before ordering a larger quantity.
How quickly can I see a mockup for custom embroidered patches?
The Customized Patches usually provides a free digital mockup within 12 hours. The customer should review size, thread colours, lettering, edge, and backing. Production starts only after the mockup has been approved.
Are embroidered patches suitable for nylon jackets?
They can be suitable, but the backing and application method need care. Sew-on is often preferable for thin nylon or technical shells because high heat may damage the fabric or its coating. Send a garment photograph with the quote so the construction can be assessed.
Should a UK brand choose embroidered or printed patches?
Choose embroidered patches for visible thread texture, clear blocks of colour, crests, and traditional badge styling. Choose printed patches for photographs, gradients, or very fine artwork where a flat detailed image matters more than stitched texture.
Can I order a repeat batch using the same patch design?
Yes, an approved mockup and previous specification can be used as the reference for a repeat order. Confirm the quantity, size, backing, and garment type again, because changing from a cotton shirt to a nylon shell or from sew-on to iron-on may affect the recommendation. You can also request a free mockup quote before production.
Ready to produce custom patches for your UK team or brand?
GET A FREE MOCKUP