
How to Iron On a Patch in the UK: Step-by-Step Guide
To iron on a patch, check that the garment tolerates the adhesive’s required heat, position the patch and cover it with a press cloth. Press without sliding for the supplier’s specified time, then let it cool flat before checking the edges. Reinforcing stitches improve security during repeated wear and washing.
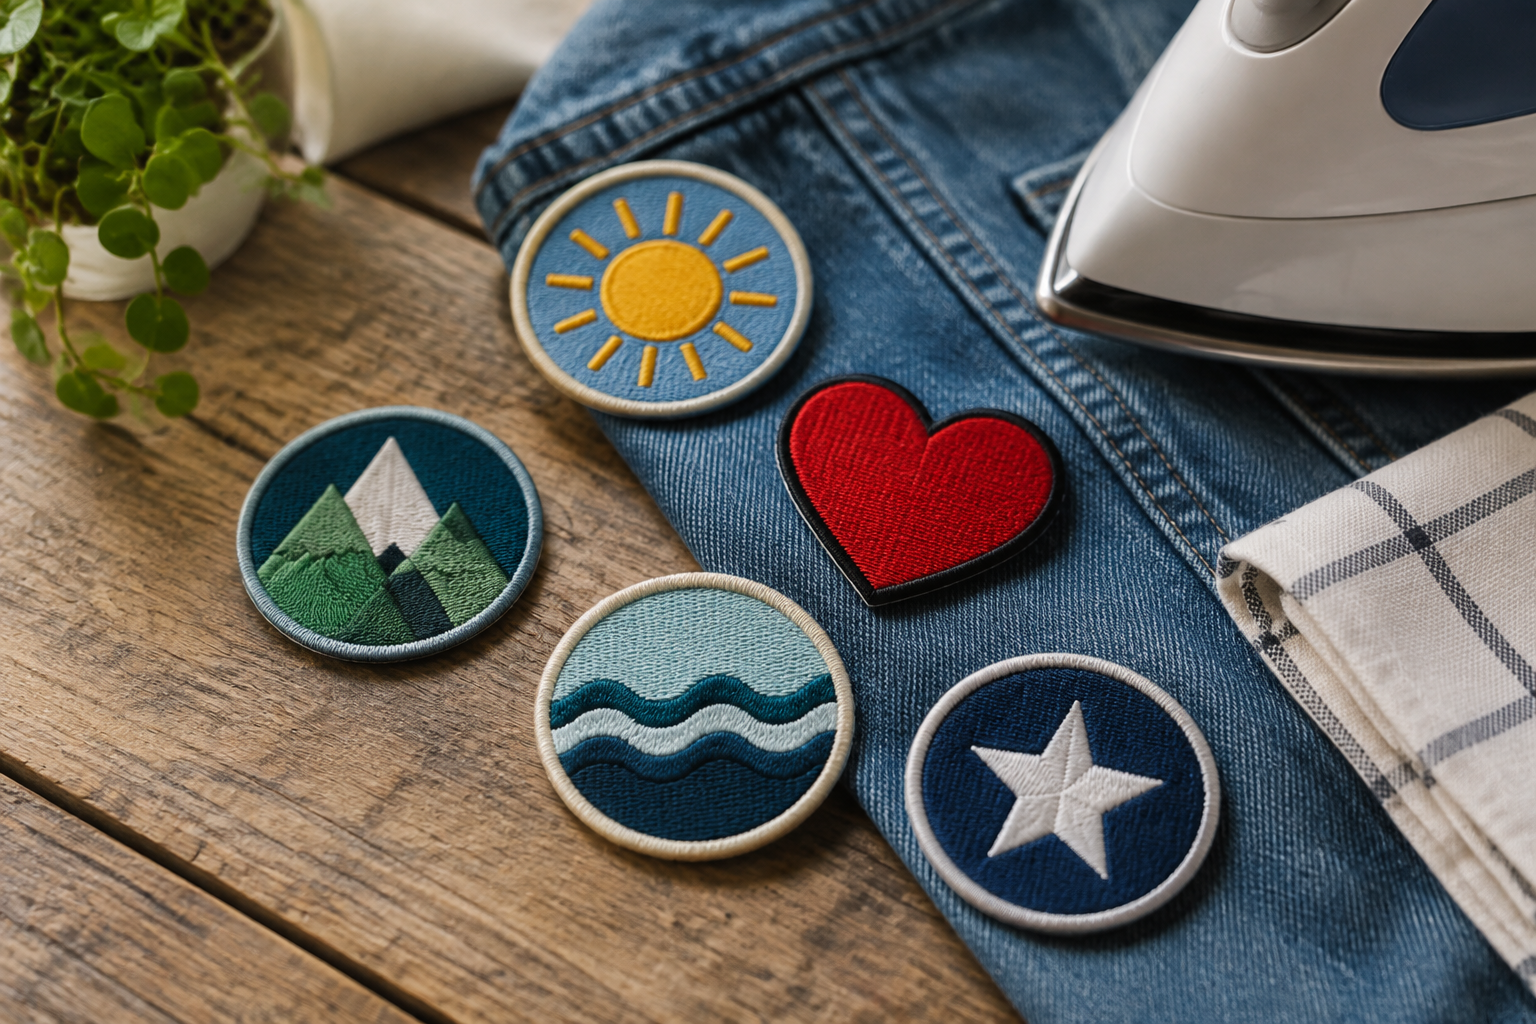
Key takeaways
- Iron-on backing needs both a heat-compatible garment and suitable adhesive application instructions.
- A press cloth protects the surface but does not make heat-sensitive fabric safe to iron.
- Hold the iron still for the specified time and let the patch cool flat before checking adhesion.
- Reinforcing stitches help secure patches on frequently washed or heavily used garments.
Here is how to iron on a patch UK teams can attach to suitable kit: check the garment label, confirm the backing’s heat requirements, then press through a cloth for the specified time. Let it cool flat before moving or testing it, and add reinforcing stitches for longer-lasting attachment.
There is no universal temperature or hold time for every iron-on patch. If the adhesive needs more heat than the garment allows, choose another attachment method rather than turning up the iron.
Can you iron a patch onto this fabric?
Read the care label and check the actual attachment area, including linings, coatings and nearby prints. A cotton outer layer does not make a jacket safe to press if heat could damage its lining.
Uncoated cotton and denim are often suitable candidates. Nylon shells, stretch sportswear and waterproof garments need more caution: heat can melt, distort or mark them, and coatings may prevent a reliable bond.
| Garment or fabric | Iron-on suitability | Main check or alternative |
|---|---|---|
| Cotton shirt or denim jacket | Often suitable | Check care label, finishes and adhesive instructions. |
| Polyester or polycotton polo | Conditional | Required adhesive heat must stay within garment limits; watch for shine or distortion. |
| Nylon shell or waterproof jacket | Usually unsuitable for ordinary iron-on backing | Seek a garment-approved attachment method; stitching can puncture waterproof layers. |
| Wool blazer | Conditional; sewing often preferable | Heat and pressure can flatten texture or leave shine. |
| Canvas cap | Fabric may suit; shape can obstruct pressing | Curves and seams prevent even contact; consider sewing. |
A hidden-area test can reveal marking, but it does not prove long-term adhesion. For coated outerwear, read Patches on Waterproof Jackets: How to Add One Without Leaks before choosing heat or stitching.
Choose the backing and confirm the heat specification
Confirm that the patch has heat-activated backing. A shiny reverse is not proof: stabilising layers and pressure-sensitive adhesives can look similar, while ordinary sew-on patches will not bond under an iron.
Embroidered patches give raised thread texture; woven patches can preserve finer lettering. Either still needs the correct backing, and small embroidered text may fill in regardless of how well the patch is attached.
What temperature and how many seconds?
Ask for temperature, hold time, pressure, pressing side and any waiting period before washing. For example, an instruction specifying 160°C for 20 seconds is usable only if the garment tolerates it; those figures are not a default recipe.
Send the artwork, garment fabric and intended backing so the specification starts with the right attachment method. We provide a free digital mockup, usually within 12 hours.
GET A FREE MOCKUPDo not translate heat-press settings directly into a domestic iron setting without guidance. For frequently washed uniforms, sew-on attachment or reinforcing stitches are often the more practical choice; compare Iron-On vs Sew-On Patches: Which Lasts Longer?.
How to iron on a patch UK teams can fit at home
Gather the patch, a domestic iron, a clean cotton press cloth and a firm, heat-safe pressing surface. Set up away from children and keep the garment flat rather than wearing it during application.
- Prepare the garment. Use clean, dry fabric without creases beneath the patch. Follow garment and backing instructions on prewashing or preheating.
- Check the position. Lay the garment naturally and measure from a consistent seam. Avoid pockets you might seal shut, bulky seams and stretchy areas that cannot lie flat.
- Set the iron. Use the supplier’s specified setting within the garment’s permitted limit. Switch steam off unless the backing instructions expressly require it, and allow the iron to stabilise.
- Cover the patch. Place a clean, dry cotton press cloth over it without shifting the design. The cloth protects the face but does not remove the risk of heat damage.
- Press without sliding. Apply steady, even pressure for the specified hold time, using a timer. Do not sweep the iron around as though removing wrinkles.
- Follow any reverse-side instruction. Turn and press from behind only if directed and safe for the garment. Do not improvise extra heating cycles.
- Cool completely while flat. Leave the patch undisturbed until it reaches room temperature. Check the edges gently without pulling the patch away from the fabric.
If the patch is larger than the iron’s soleplate, ask for an application method that heats the whole adhesive area correctly. Random overlapping presses can leave cold spots while overheating other areas.
Stop edges lifting during wear and washing
Adhesive alone is less reassuring on garments that bend, stretch or undergo frequent laundering. Reinforcing stitching around the perimeter helps resist peeling; avoid cutting through or damaging the edge threads.
- Respect the adhesive supplier’s waiting period before the first wash.
- Follow whichever care instructions are more restrictive: garment, patch or adhesive.
- Turn suitable garments inside out and avoid unnecessary rubbing against the patch.
- Avoid hot washing and tumble-drying unless all components permit them.
Stitching is not automatically suitable for waterproof or protective workwear; check the garment manufacturer’s guidance first. Our washing guide explains routine care without assuming every backing behaves alike.
What if the patch will not stick?
Lifting corners can indicate uneven pressure, insufficient adhesive activation or a seam beneath the edge. A patch that releases across its whole surface may have the wrong backing, an incompatible fabric finish or inadequate heating.
Include your garment details and required date so the quote addresses attachment as well as artwork. Get a free digital mockup, usually within 12 hours, before approving production.
GET A FREE MOCKUPCheck the instructions before trying again; more heat is not a universal fix. Stop if the fabric shines, discolours or distorts, and do not apply the iron directly to exposed adhesive.
Specify custom patches and plan the order
The Customized Patches makes patches to order from your artwork, with a 5-piece minimum per design. Quotes start from £60, with free shipping across the United Kingdom; the final quote depends on your specification.
- Send artwork, quantity per design and finished dimensions in millimetres, such as 75 mm (2.95 inches) wide.
- Name the garment, fabric composition, placement and expected washing routine.
- Specify iron-on or sew-on backing and request application instructions for the proposed garment.
- Give your required delivery date and allow time for approval, production, delivery and attachment.
We provide a free digital mockup, usually within 12 hours, and produce only after approval. Mockup turnaround is not a production or delivery promise: confirm both before committing to an event date, and test one patch before attaching a batch.
Use our free mockup quote to submit the specification. Ordering Custom Patches Online: What to Expect explains the approval stages; a digital proof checks the design, not the physical bond to your fabric.
Frequently asked questions
Does how to iron on a patch UK guidance differ from instructions elsewhere?
The attachment principles are the same. Follow the backing supplier’s instructions and your garment’s care label; a UK iron’s fabric setting is not a substitute for a specified application temperature.
Can I iron a patch onto a polyester polo?
Only if the adhesive activates at a temperature the polo tolerates. Polyester can develop shine or distortion under heat and pressure; if the requirements conflict, choose sewing rather than increasing the heat.
Can I use a tea towel as a press cloth?
A clean, thin, plain cotton tea towel can work if the application instructions allow it. Thick, textured or synthetic towels can obstruct heat transfer or mark the surface.
How long should the patch cool?
Leave it flat and untouched until it reaches room temperature, following any longer cooling period specified by the supplier. Do not flex or peel-test warm adhesive.
Should I sew around an iron-on patch?
Reinforcing stitches are recommended for longevity on suitable garments, especially frequently washed kit. Check before sewing waterproof or protective clothing, where needle holes or alterations may affect its function.
Can I order five iron-on patches with my own logo?
Yes. Our minimum is 5 pieces per design, made from your artwork. State the garment and backing on the quote; the free digital mockup usually arrives within 12 hours, and production follows approval only.
Ready to produce custom patches for your UK team or brand?
GET A FREE MOCKUP