
How to Attach a Patch to a Jacket in the UK: Sew-On, Iron-On and Velcro Methods
Sew a patch onto denim or canvas for a lasting attachment, use iron-on only where the jacket and adhesive instructions permit heat, or fit a loop panel for removable hook-backed patches. Check the care label first: heat can damage synthetic shells, while stitching can compromise waterproof fabrics.
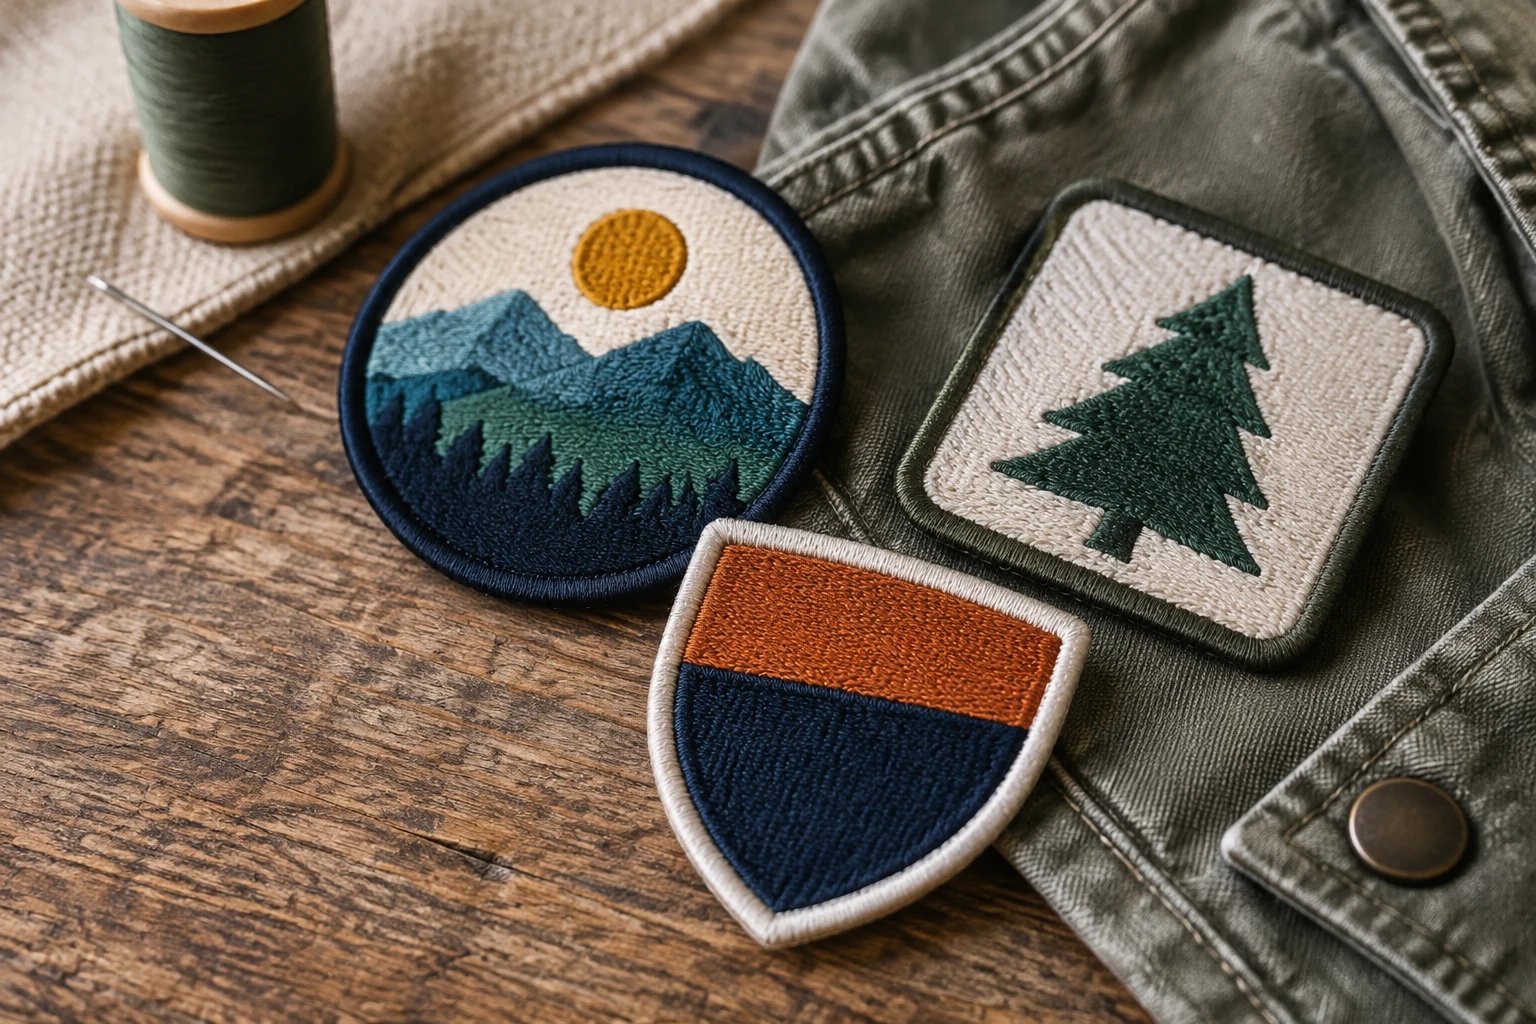
Key takeaways
- Sew-on patches avoid heat adhesive but leave needle holes in the jacket.
- Iron-on requires compatible fabric and the adhesive supplier’s temperature, time and pressure instructions.
- A removable hook-backed patch needs a securely attached loop panel.
- The Customized Patches has a 5-piece minimum per design and produces only after approval.
If you are searching for “how to attach a patch to a jacket UK”, choose by fabric first: sew onto sturdy denim or canvas, iron only onto heat-compatible fabric, or fit a loop panel for removable patches. Check the jacket’s care label before applying heat or making needle holes.
The patch face and its attachment are separate choices. Embroidered patches can suit several backing options, but an iron-on back is not automatically suitable for every jacket.
How to attach a patch to a jacket UK: which method fits?
Start with the outer fabric, coating and lining. Uncoated cotton denim and canvas are usually straightforward to sew; nylon shells, waterproof membranes, leather and waxed cotton need more care.
| Method | Best suited to | Main trade-off | What to specify |
|---|---|---|---|
| Sew-on | Sturdy denim, canvas and suitable blazer fabric | Lasting attachment, but leaves needle holes | Sew-on backing and accessible border |
| Iron-on | Heat-tolerant fabric approved for the required pressing conditions | No sewing needed initially; edges can lift with wear or washing | Heat-seal backing and application instructions |
| Hook-and-loop | Jackets with an existing loop panel, or fabric suitable for adding one | Removable badge, but extra thickness and a visible panel | Hook-backed patch; confirm matching loop panel |
Do not assume sewing is harmless on technical outerwear: needle holes can compromise waterproofing. Avoid altering protective motorcycle clothing or hi-vis safety areas without the garment supplier’s guidance; decorative badges must not interfere with protective features.
Check size, placement and backing before ordering
Cut a paper template and try it on the jacket while it is being worn. A hypothetical chest badge measuring 80 mm (3.15 inches) across may look balanced on one jacket but crowd a pocket on another.
- Keep the whole patch on a flat area, away from zips, thick seams and pocket openings.
- Check inside: sewing through a lining can trap it, and stitching through a pocket can close it.
- For removable badges, measure the existing loop panel and match the patch outline to it.
- Check lettering at actual size; fine text can fill in on small embroidery.
For tiny lettering, compare woven patches or printed patches before finalising the artwork. Our guide to Embroidered Patches for Jackets: Size, Backing, Placement explains the layout choices.
Send your artwork, jacket fabric and preferred attachment so the patch specification fits the garment. We provide a free digital mockup usually within 12 hours.
GET A FREE MOCKUPHow to sew a patch onto a jacket
Use a needle suited to the fabric, polyester sewing thread, scissors and a thimble for heavy cloth. Match the thread to the patch border for discreet stitches, or choose a contrasting colour deliberately.
- Lay the jacket flat and position the patch. Pin or tack it on ordinary woven fabric, keeping pockets and loose lining clear.
- Thread the needle and secure the thread on the inside. Start beside the border rather than forcing the needle through dense central embroidery.
- Hand-sew with small whipstitches over the border or backstitches just inside it. Catch both the patch and jacket without pulling the fabric into puckers.
- Work around the full outline, paying attention to corners. Secure the final stitches on the inside and trim the thread.
- Check the edge all round, then put the jacket on to confirm that the attachment has not restricted movement.
For machine sewing, use a straight stitch just inside the border and secure the start and finish with backstitching. A tailor can handle inaccessible linings; leather needs suitable needles and leaves permanent holes, so specialist attachment is preferable.
How to iron on a patch without damaging the jacket
Only proceed if the jacket permits the heat required by the adhesive. Polyester varies; nylon shells, coated fabrics, leather and waterproof jackets are poor candidates for home heat application unless the garment manufacturer explicitly permits it.
Use a dry iron and the supplied pressing instructions
- Read the patch’s temperature, pressing-time and pressure instructions alongside the jacket care label. If they conflict, do not iron it on.
- Set the iron to the specified compatible setting and switch steam off. If the setting is unclear, ask the patch supplier rather than guessing.
- Place the clean, dry jacket on a firm, heat-safe surface. Smooth the fabric and position the patch clear of seams.
- Cover the patch with a clean cotton press cloth. Press firmly for the instructed time without sliding the iron.
- Apply heat from the reverse only if the supplied instructions require it and the lining can tolerate it.
- Let the patch cool completely before checking the edges. If they lift, consult the application instructions before reheating.
A press cloth does not make heat-sensitive fabric safe. For further detail, see How to Iron On a Patch in the UK: Step-by-Step Guide; perimeter stitching can reinforce an iron-on patch where the garment permits sewing.
How to attach a Velcro-style patch and loop panel
Hook-and-loop attachment uses a rough hook backing on the patch and a soft loop panel on the jacket. If the jacket already has a compatible panel, you only need a correctly sized hook-backed patch.
Include the backing and jacket details so the specification is clear before approval. Request a free digital mockup, usually within 12 hours.
GET A FREE MOCKUP- For a new panel, obtain sew-on loop material matching the patch outline. Confirm whether it is included with the patch.
- Position the soft panel on the jacket and check pocket and lining access.
- Stitch around the panel’s perimeter, securing the start and finish. Avoid puckering or accidentally stitching a pocket shut.
- Press the hook-backed patch firmly onto the loop surface. To remove it, hold the panel and peel the patch away gently.
Ordinary self-adhesive hook-and-loop tape is not a reliable substitute for a sewn garment panel unless specifically rated for that fabric and laundering. Adding a sewn panel still punctures waterproof shells; an existing factory-fitted panel avoids that alteration.
What to send with your order and when to plan attachment
The Customized Patches makes patches to order from your artwork, with a 5-piece minimum per design. Quotes start from £60, and shipping is free across the United Kingdom.
- Send artwork, quantity, dimensions and the jacket fabric or care-label details.
- Specify sew-on, iron-on or hook backing; state whether you also need a loop panel.
- Give your required delivery date and allow time to attach and check the badges.
We provide a free digital mockup usually within 12 hours and produce only after approval. Mockup turnaround is not production or delivery time: request the current schedule through our free mockup quote, and check Ordering Custom Patches Online: What to Expect.
Frequently asked questions
How to attach a patch to a jacket UK: which method lasts longest?
On suitable fabric, perimeter stitching is generally the most dependable lasting attachment. Iron-on adhesion depends on correct application and care. See Iron-On vs Sew-On Patches: Which Lasts Longer?.
Can I iron a patch onto a nylon jacket?
Do not assume it is safe. Nylon and its coatings can be damaged by heat. Proceed only if the jacket manufacturer permits the adhesive’s required pressing conditions.
What iron temperature and pressing time should I use?
Use the adhesive supplier’s instructions, provided the jacket allows those conditions. There is no universal setting: a lower temperature may fail to bond, while a higher one can damage fabric.
Does a hook-backed patch include the loop panel?
Not necessarily. Specify a matching sew-on loop panel if the jacket lacks one, and confirm its inclusion in the quote.
Can I wash a jacket after attaching patches?
Follow whichever garment or patch care instruction is more restrictive, including any adhesive curing period. Hot washing can lift adhesive edges. See How to Wash Embroidered Patches Without Damage.
Can I order one patch to test the attachment?
Our minimum is 5 pieces per design, not one. Use the free digital mockup to check artwork and dimensions, then test attachment on one patch and a suitable fabric sample before fitting the rest.
Ready to produce custom patches for your UK team or brand?
GET A FREE MOCKUP