
Embroidered Patches for Hi-Vis Workwear in the UK: Backing and Attachment
For embroidered patches on hi-vis workwear, specify sew-on backing and obtain the garment manufacturer's approval for placement and attachment. Synthetic fabrics can be damaged by heat, while stitching can puncture waterproof coatings. Keep reflective tape clear, minimise covered fluorescent fabric, and check that the patch and attachment suit the garment's washing programme.
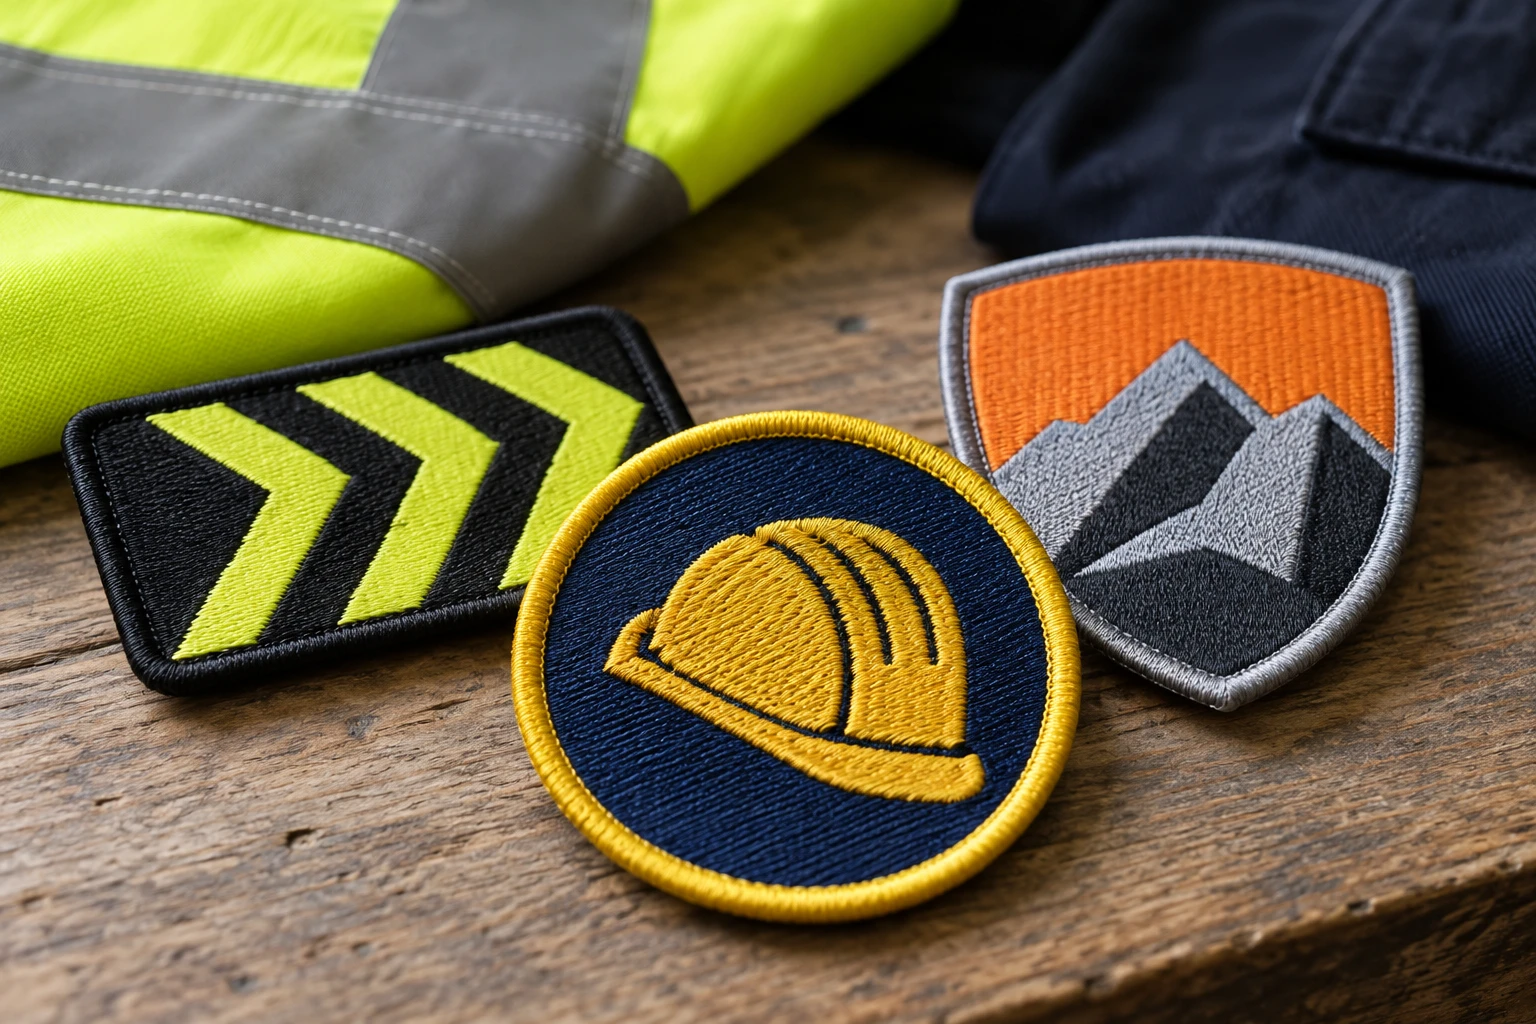
Key takeaways
- Specify sew-on backing for frequently washed hi-vis workwear, subject to the garment manufacturer's approval.
- An ordinary embroidered patch does not replace fluorescent background fabric or retroreflective tape.
- Stitching avoids heat application but can puncture waterproof coatings and restrict stretch.
- The Customized Patches has a 5-piece minimum per design, provides a free digital mockup usually within 12 hours, and produces only after approval.
Sew-on backing is the starting specification for embroidered patches for hi-vis workwear UK teams will wash frequently. It avoids heat application to synthetic fabric and does not rely on adhesive alone, but the garment manufacturer must approve the placement and attachment method.
Keep patches off reflective tape and within an approved branding area. A readable logo is useful; covering too much fluorescent fabric, damaging a waterproof shell or attaching a patch that cannot tolerate the wash programme can undermine the garment.
Check the hi-vis garment before choosing the patch
Hi-vis clothing often uses polyester fabric, mesh or coated synthetic shells. These behave differently under a needle or heat press, so record the garment model, fibre content and care instructions rather than specifying simply “a yellow jacket”.
Covering fluorescent material reduces its exposed area. Garments assessed to EN ISO 20471 depend partly on the area and arrangement of visibility materials; a patch mockup cannot confirm that a modified garment retains its performance classification.
- Ask the garment supplier for approved branding positions and maximum dimensions.
- Keep reflective tape, fastening points and required labels unobstructed.
- Check any additional waterproof, flame-resistant or other protective requirements before modification.
- If no suitable attachment is approved, choose another garment with an approved branding area.
Why specify sew-on rather than iron-on backing?
For this application, specify a sew-on patch without heat-activated adhesive. Perimeter stitching gives mechanical attachment without pressing a hot iron against polyester, a nylon shell or a coating.
Sew-on does not mean risk-free: needles create holes, and dense stitching can pucker lightweight cloth. Iron-on adhesive can lift after unsuitable washing or drying, while the application temperature may exceed the garment's heat limit.
| Attachment | Practical benefit | Main limitation on hi-vis workwear |
|---|---|---|
| Sew-on, no heat-activated backing | Secure attachment without heat application | Needs approved positioning; stitches can puncture coatings or restrict stretch |
| Iron-on | No needle holes during application | Heat can damage synthetics; adhesive may not suit frequent laundering |
| Hook-and-loop | Badge can be removed for washing or reassignment | Receiving panel still needs approved attachment; adds bulk and collects lint |
| Self-adhesive | Temporary positioning | Not a dependable permanent attachment for frequently washed workwear |
Our Iron-On vs Sew-On Patches in the UK: Which Lasts Longer? guide explains the wider trade-offs. For protective workwear, the garment manufacturer's instructions take priority over a general backing recommendation.
Specifying embroidered patches for hi-vis workwear UK teams can read
Measure the approved branding area with the garment laid flat. A hypothetical chest badge might be 80 × 40 mm (3.15 × 1.57 inches), but that is a layout example, not a universally safe size.
Send your artwork, proposed dimensions and the garment's approved branding area so the layout starts with the right limits. We provide a free digital mockup, usually within 12 hours.
GET A FREE MOCKUPUse strong contrast within the badge: navy lettering on white is easier to distinguish than yellow lettering on white. Ordinary embroidery thread, including bright yellow thread, should not be treated as a replacement for the garment's fluorescent or retroreflective materials.
- Keep the main name prominent; remove tiny slogans before increasing the covered area.
- Request a clearly defined border with enough material for secure perimeter stitching.
- Inspect the artwork at actual size, not only enlarged on a screen.
- If fine lettering fills in with thread, compare woven patches with embroidered patches.
Attach the patch without damaging the garment
Ask the person attaching the badge to check the reverse of the panel first. Sewing through a pocket bag can close the pocket, while stitching through a lining can distort the jacket or catch internal layers.
Use a needle, thread and stitch setting suited to the fabric and care programme. Stitch around the perimeter without pulling the panel tight, then check for puckering, loose edges and snag points.
Waterproof shells and stretchy polos need separate checks
On a waterproof hi-vis jacket, needle holes can create leak paths. Follow the manufacturer's authorised branding method and any specified sealing process; our guide to Patches on Waterproof Jackets: How to Add One Without Leaks explains the attachment risks.
On a lightweight polyester polo or mesh vest, a dense badge can drag the fabric or restrict stretch. Keep the badge compact and ask the garment supplier or decorator whether the panel needs support.
Match durability to the actual laundry programme
“Washable” is not a complete specification. Give the patch supplier the wash temperature, detergent or bleach requirements, drying method and whether an industrial laundry handles the garments.
Include your garment details and required date so backing, dimensions and timing can be checked before approval. Get a free digital mockup, usually within 12 hours; production starts only after you approve.
GET A FREE MOCKUPThe patch, border and sewing thread all need to suit that programme. If the garment requires a hotter wash than the patch can tolerate, lowering the temperature is not automatically an acceptable workaround: resolve the mismatch before ordering.
- Trial an attached sample through the intended wash and dry cycle before applying a batch.
- Inspect for curling, shrinkage differences, colour change, broken stitches and loose edges.
- Keep checking reflective tape and fluorescent fabric separately; a sound badge does not prove the garment is still serviceable.
What to send for a quote and approval
The Customized Patches makes patches to order from your artwork, with a 5-piece minimum per design. Quotes start from £60, and shipping is free across the United Kingdom; request a quote for your specific size, quantity and construction.
- Send the logo file, quantity per design and finished dimensions in millimetres.
- Name the garment model and supply a photograph of the proposed, approved position.
- Specify sew-on backing without heat-activated adhesive, plus any border preference.
- Include the laundry requirements and required delivery date.
- Check spelling, colours, size, border and backing on the digital mockup before approving.
Our free digital mockup is usually ready within 12 hours, and we produce only after approval. The mockup is not a wash test or garment certification; ask for production and delivery timing separately, allowing time for attachment and any trial laundering.
Use our free mockup quote form to send the specification together. For uniforms beyond hi-vis, see Branded Patches for Construction and Trades Workwear.
Frequently asked questions
Which backing should I request for embroidered patches for hi-vis workwear UK teams use daily?
Specify sew-on backing without heat-activated adhesive, subject to the garment manufacturer's approval. It avoids heat application, but placement, needle holes and laundry compatibility still need checking.
Can I put a patch over reflective tape?
Do not cover reflective tape. Use the manufacturer's approved branding area and dimensions; ordinary embroidery does not perform the same visibility function as retroreflective material.
What size should a hi-vis chest patch be?
There is no universal size. Measure the approved area, then use the smallest badge that keeps the main wording readable. Simplify the artwork rather than expanding into visibility materials.
Will sewing a badge affect waterproofing?
It can. Needle holes can puncture a coating or membrane, so obtain the manufacturer's authorised attachment instructions. Do not assume sewing followed by an unspecified sealant restores waterproof performance.
Can embroidered patches withstand industrial washing?
Not automatically. Confirm compatibility with the exact wash, chemicals and drying process, then trial an attached sample. Domestic wash suitability alone does not establish industrial laundry suitability.
Can we order a small batch before fitting patches across the team?
The minimum is 5 pieces per design. A small batch allows attachment and washing checks before wider use. See Why Patch Makers Set Minimum Orders (and How a 5-Piece Minimum Works) for ordering context.
Ready to produce custom patches for your UK team or brand?
GET A FREE MOCKUP